
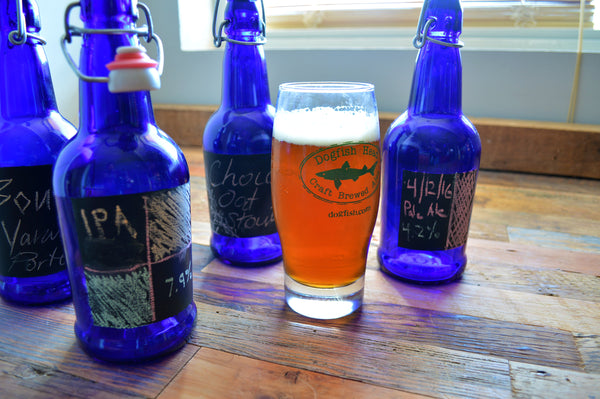
DIY Chalkboard Beer Bottle Labels
We love seeing the cool and interesting projects some of our customers have created. One of our favorites comes from Ajay, located near Boston, who came up with a great idea for labeling and customizing a 12-pack of cobalt blue bottles – chalkboard paint. It’s a fun, easy way to label your brews, keep track of whose drink belongs to whom, or just to draw some weird pictures. Here’s what you’ll need to get started.
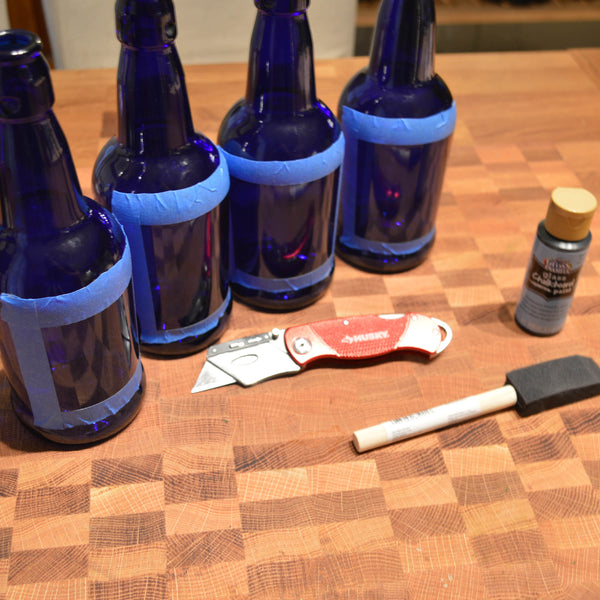
Materials
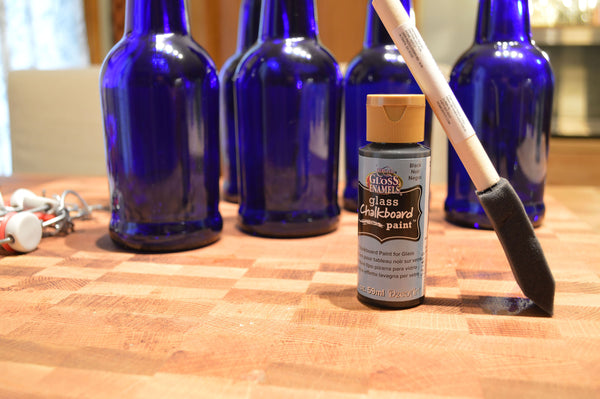
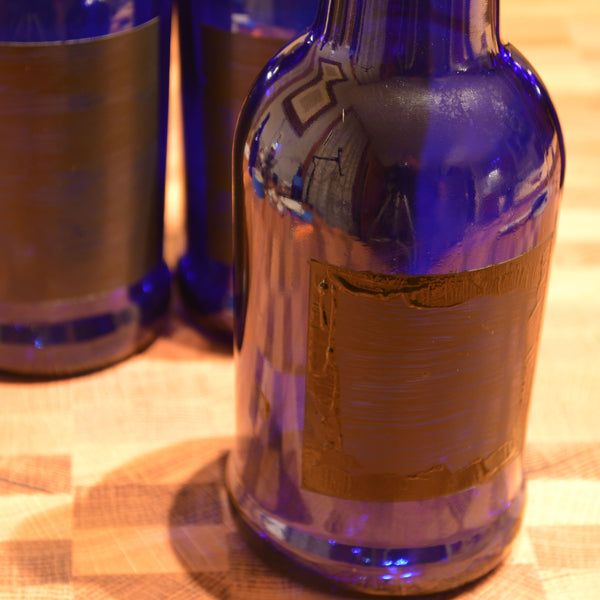
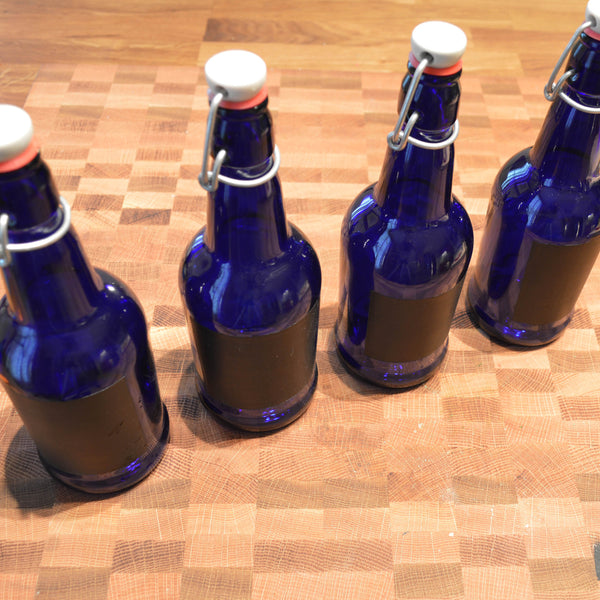
Bottles of your choice – we used EZ Cap cobalt blue flip-top bottles for this project.
Glass Chalkboard Paint – available here
Small amount of Isopropyl Alcohol for cleaning your bottles
Paper Towels
1-2 Small Foam Brushes
Painters Tape
Utility Knife (optional)
Chalk
Timing
Although this project is a simple one, you’ll need to set aside about 90 minutes per coat of paint you’ll use (we ended up using 3 total coats), most of which will be spent waiting for your paint to cure and your bottles to heat and cool.
Instructions
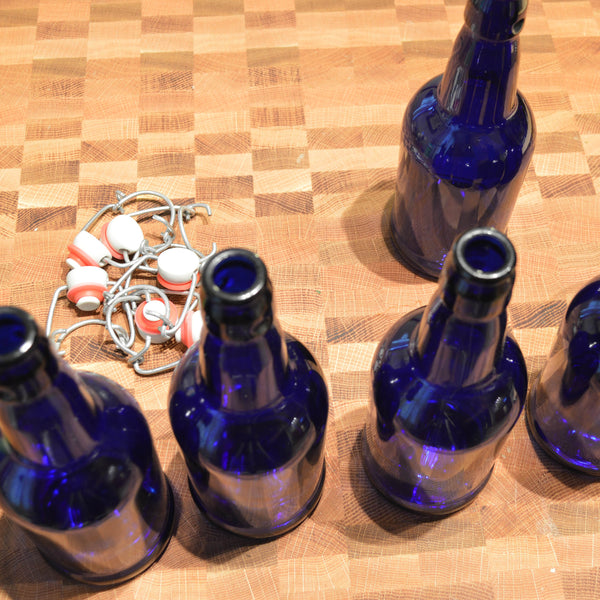
First, select and prep your bottles. You can use nearly any type of bottle for this project; we like to use these EZ Cap flip-top bottles, since they have a large flat area for a big label, and frankly because they look pretty damn cool.
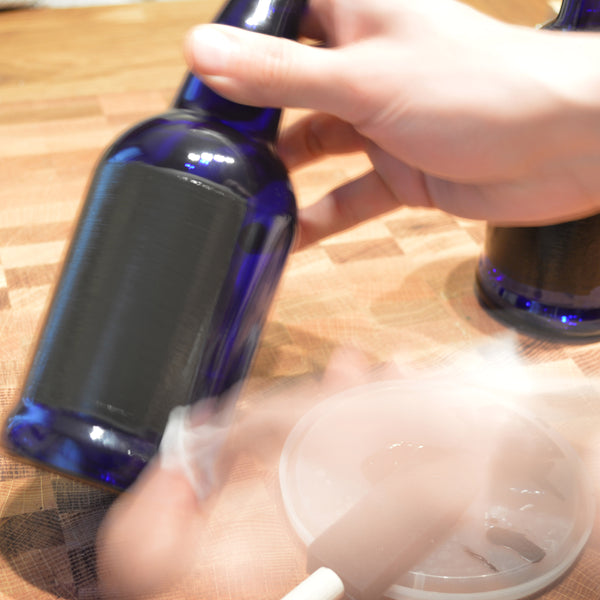
Wet a paper towel or rag with isopropyl alcohol and gently scrub the area where your label will be to remove any residue. If you’re reusing bottles with labels already on them, be sure to soak the bottles for at least 30 minutes in soapy water or sanitizer, if you have it! After the bottles have soaked, gently remove the labels and scrape all remaining glue from the bottle before proceeding.
Since we’re going to be baking these bottles to cure the paint, we’ll need to remove the swing-tops from our bottles.
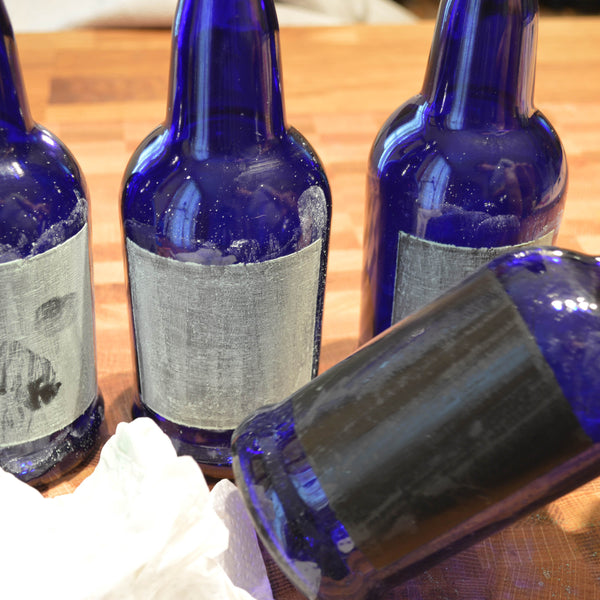
The next step is to mask off the area we’ll be painting. You can get as precise or creative as you’d like at this stage. We roughly outlined rectangles about 4 inches high and 3 inches wide, but you can make any type of rectangle, circle or any other design you’re able to make using painter’s tape. Regardless of your design, the important thing is to ensure all edges coming in contact with your chalkboard paint be as crisp as possible – this means avoiding creases in your tape, and pressing down hard to ensure good contact between the tape and your bottle.
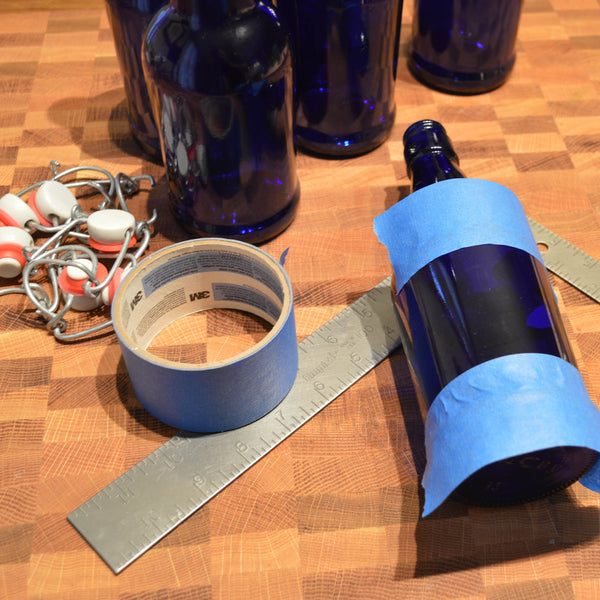
Optional: Using a utility knife, cut the excess tape from your bottles to make them easier to handle.

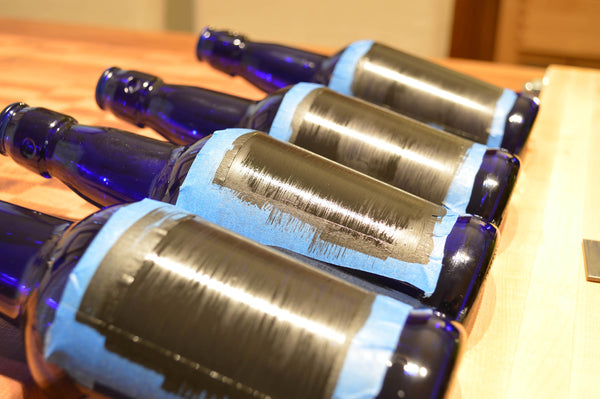
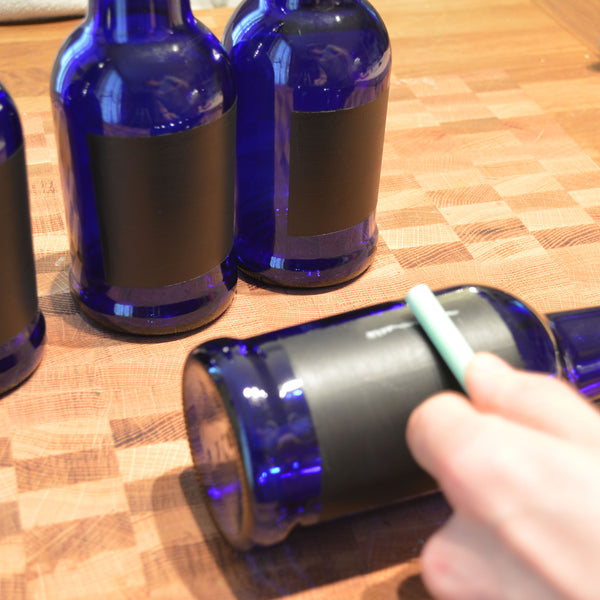
Squirt a small amount of paint from your bottle, and dap onto one edge of your foam brush. Gently paint each bottle, taking care to cover the surface with as little paint as possible. The smoothness of the paint will ultimately determine how well you’re able to write on it. Don’t worry if your paint looks thin and translucent – we’ll be adding more layers in later steps.

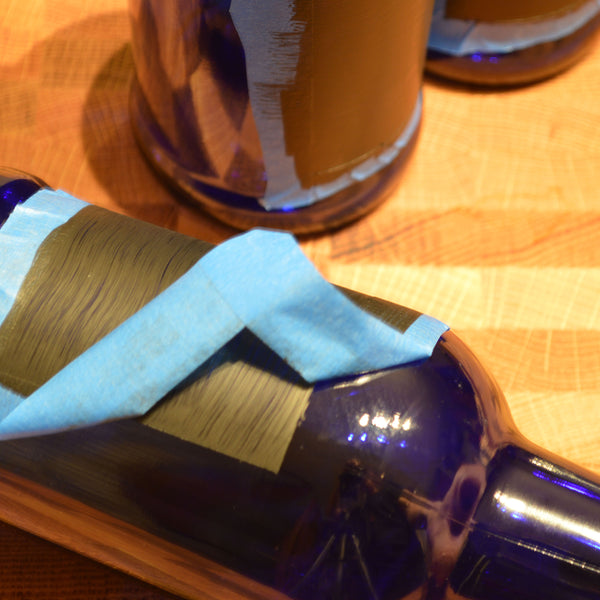
Wait approximately 30 minutes for your paint to dry, then carefully remove the painter’s tape. Make sure your lines are crisp – if the paint has seeped where you don’t want it to be, you can (carefully) scrape the excess off using an X-acto or utility knife.

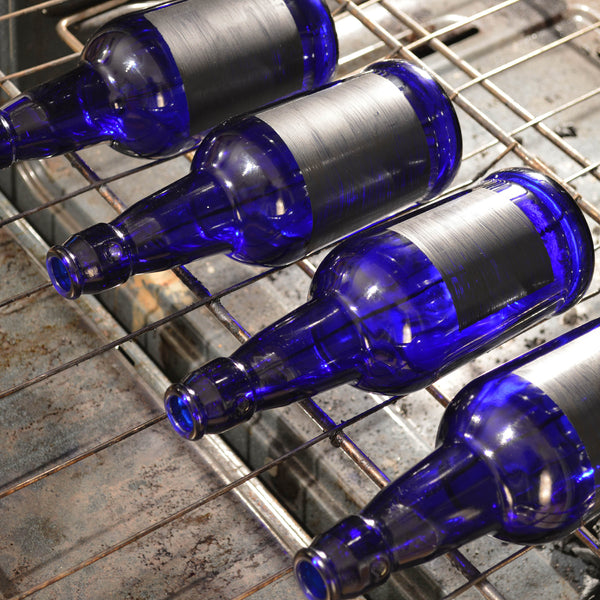
Place your bottles on an oven rack, painted side up, THEN turn the oven to 375 degrees, and cook for 30 minutes. Make sure your oven is at room temperature when you add the bottles – the glass needs to heat and cool gradually. After 30 minutes, turn off the oven and let your bottles cool gradually.
Once your bottles have cooled, remove them from the oven and begin your second coat. Begin at the outside edges and work your way in, being sure to alternate direction from your first coat to minimize streaking.
If your paint bleeds outside the edge of your label, wipe the excess away using a damp paper towel, using the crisp paint edge as a guide. Let dry and bake again at 375 degrees for 30 minutes. Repeat this painting, drying, baking, and cooling process, as many times as desired. The final number of coats is up to you – we used 3 total coats of paint to achieve a totally opaque label, but if you’re painting on lighter glass, you may need an additional coat or two to achieve the look you want.
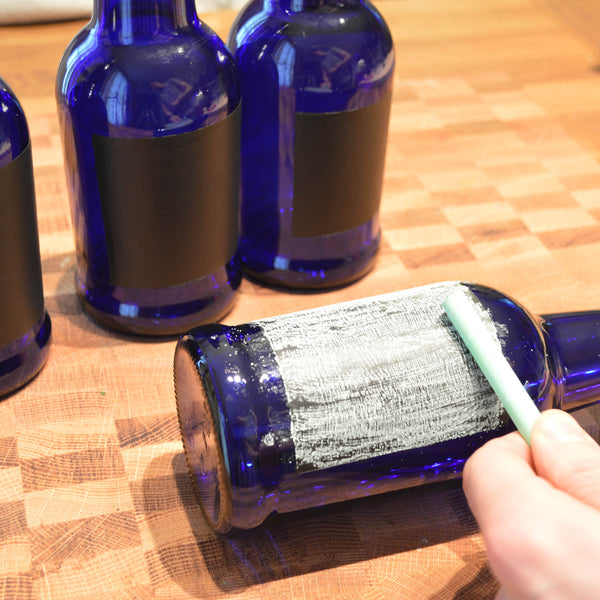
Next, season the chalkboard using a stick of chalk (your least favorite color!). Using the side of the chalk, cover the label as completely as possible, then wipe using a damp paper towel.
Re-attach your flip tops, fill with your favorite beverage, and enjoy!
Cheers!